5 steps to change a broken BioDisc Shaft
Follow step by step as our experienced RA Dalton waste water specialist engineers change a BD BioDisc shaft, bearings and BD motor/gearbox.
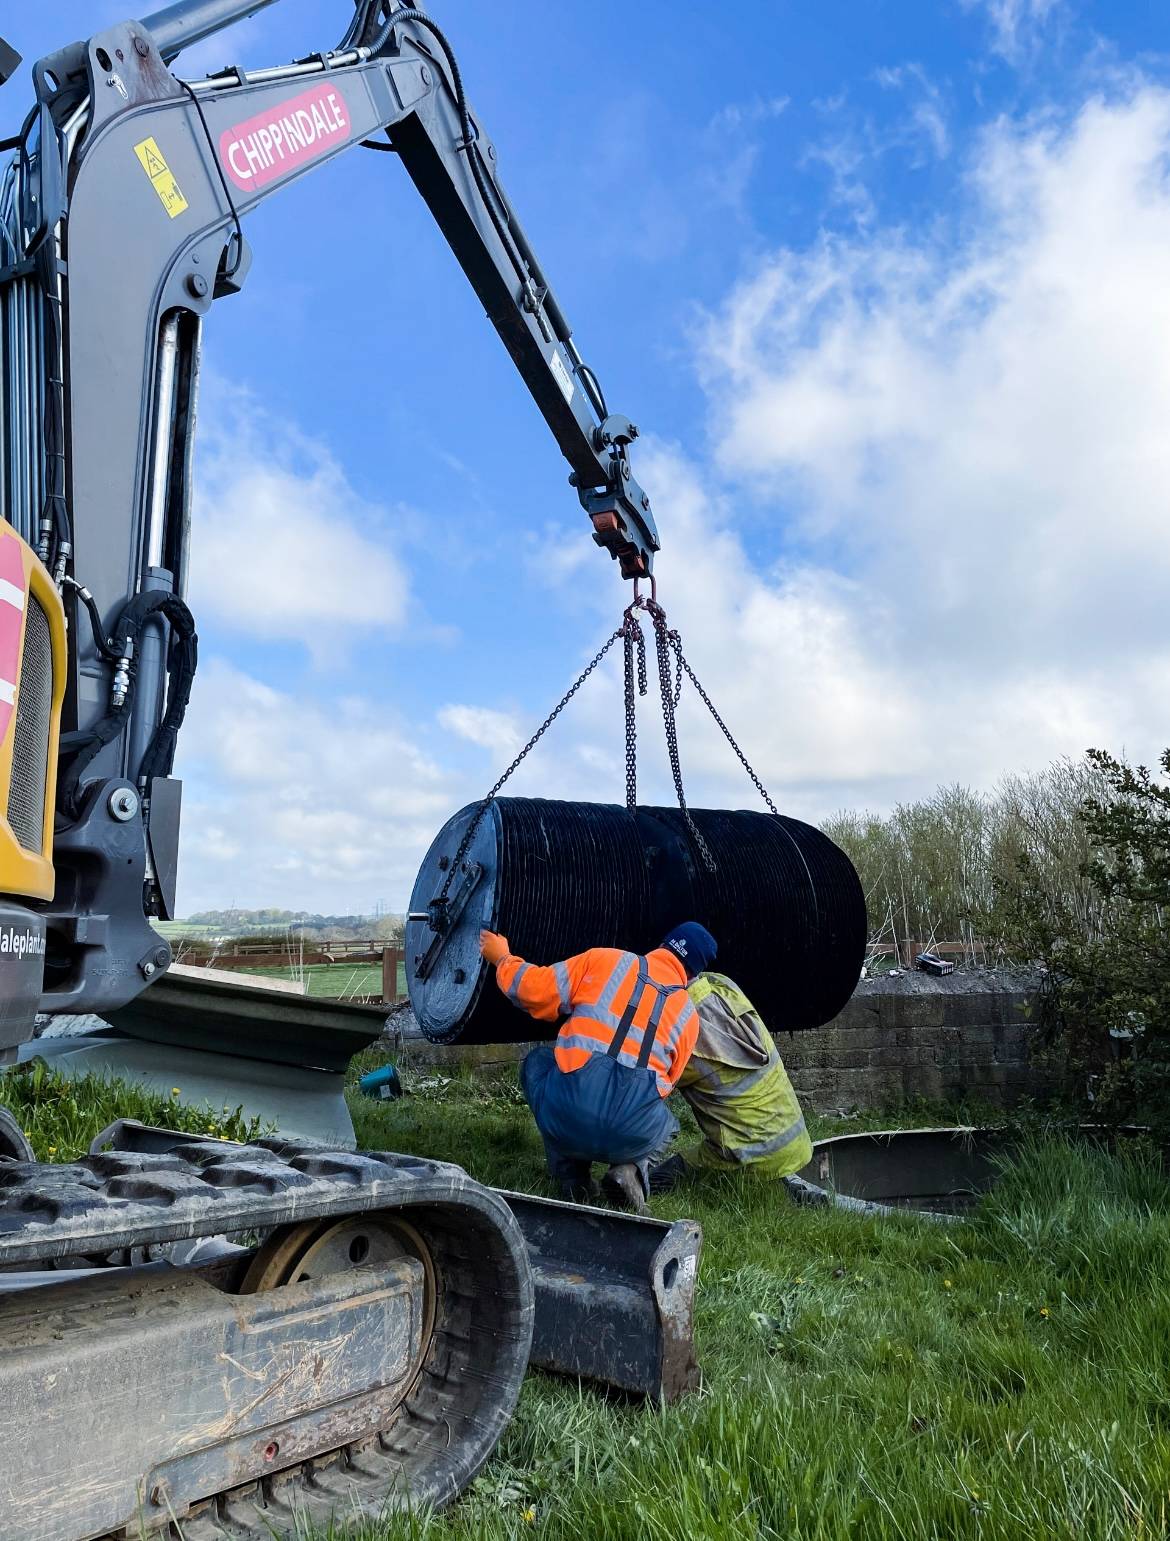
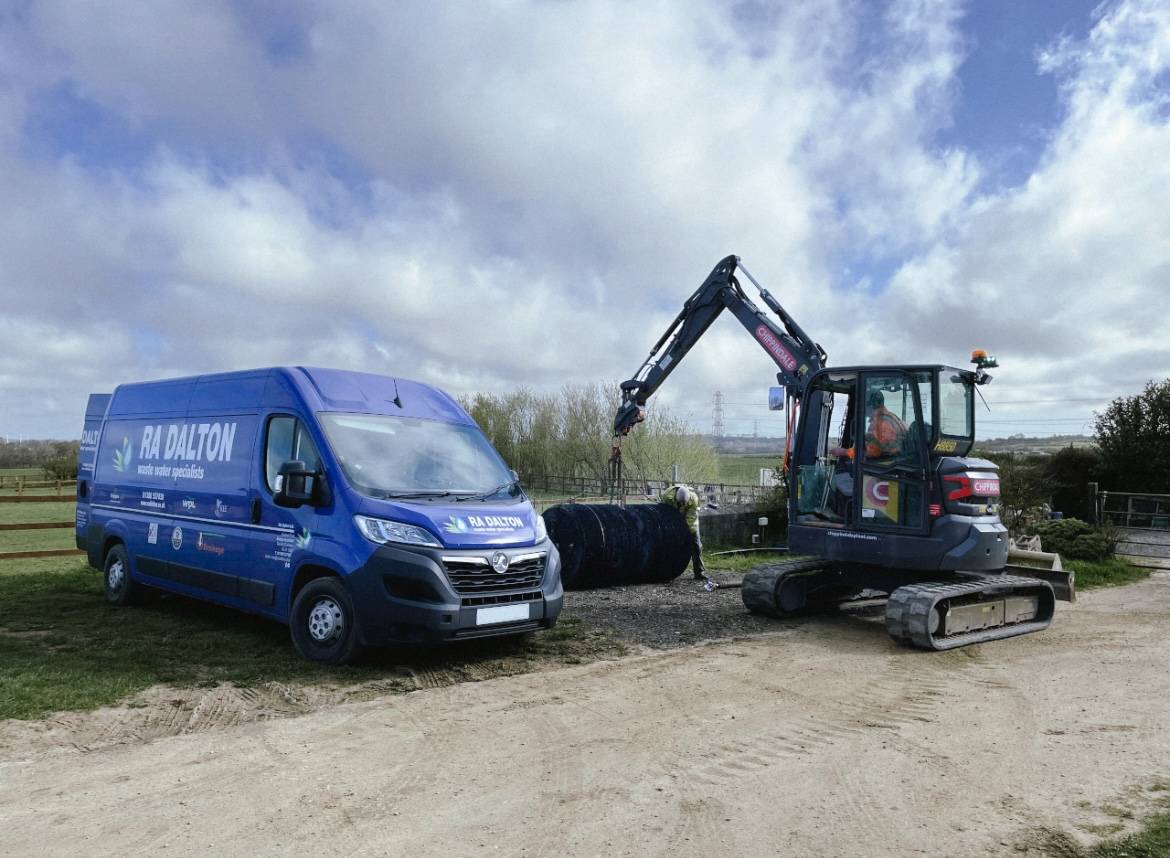
Step 1 - Removing the Complete Rotor Assembly out of the BioDisc tank
First things first, engineers secure the area, completing a risk assessment of all the potentially hazardous factors that could put them and others around at risk in the course of carrying out the remedials to the system.
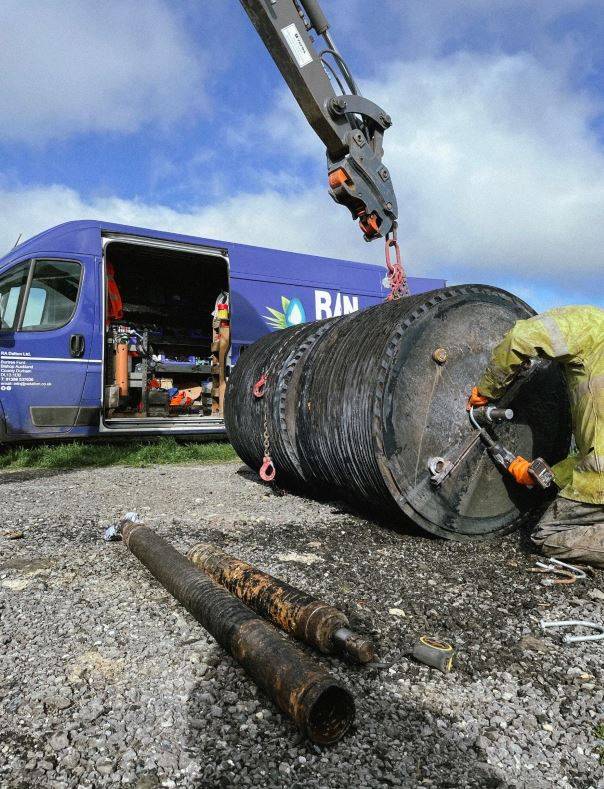
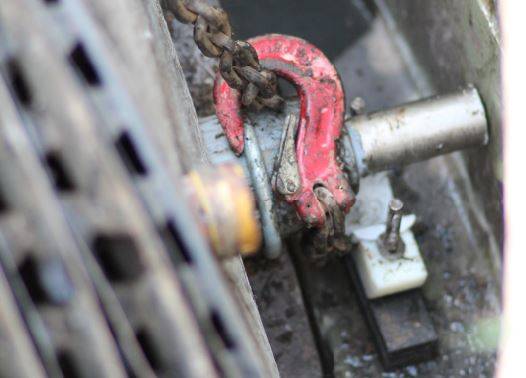
To carry out the works, our engineers would need a 3.5 tonne excavator to lift the collapsed rotor assembly out of the tank. The engineers have all of the relevant driver tickets and experience to carefully navigate the complete rotor assembly, weighing in at over 150kg and almost 2m long, steadily out of the tank with lifting chains that are calibrated to take the load.
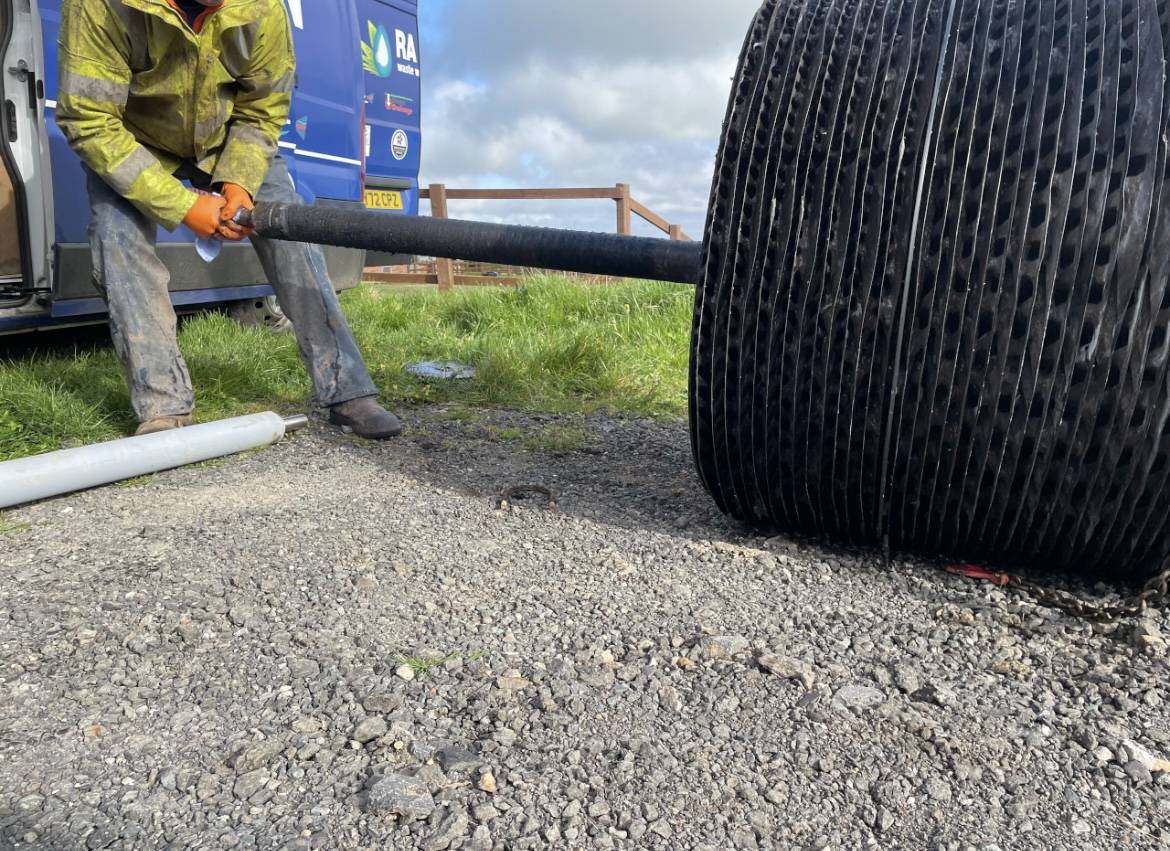
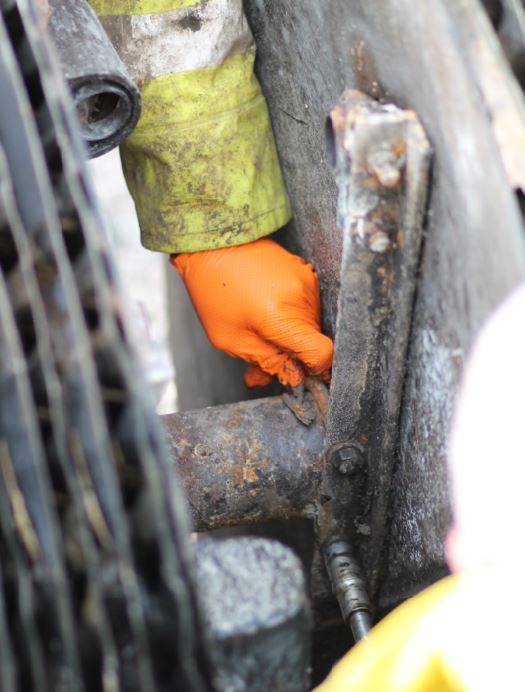
Step 2 - Removing the U-Bolts and Broken Shaft
Once the rotor assembly is secure on a flat standing, engineers would set to work removing u-bolts which attach the shaft to the radial arms on the media discs. The old u-bolts on this system had seized and rusted making it hard to remove. The engineers, equipped with the tools needed for the job, cut the old u bolts. The old broken shaft is now free to be removed from the biodisc media discs.
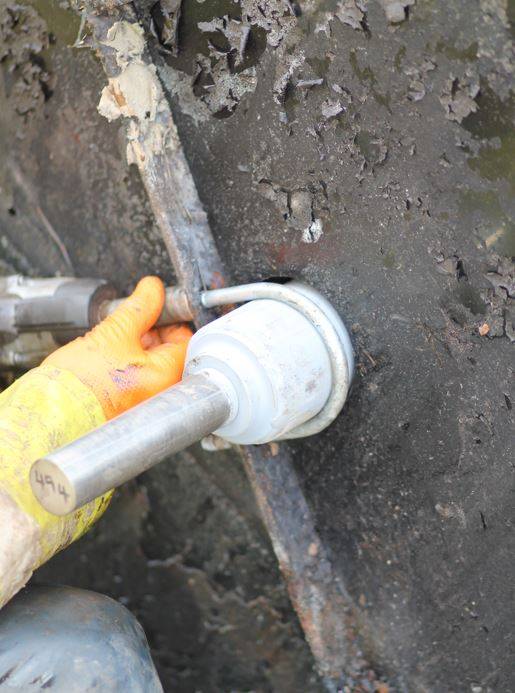
Step 3 - Fitting the new BD BioDisc Shaft
The engineers are equipped with the new BD shaft which is a direct replacement of the removed shaft. This makes fitting it like a glove, the shaft slides straight in where the old shaft was removed through the middle of the media discs.
New u-bolts are used to fix the new biodisc shaft onto the radial arms of the rotor assembly. This secures the discs on the shaft so they don’t slide or slip when in rotation.


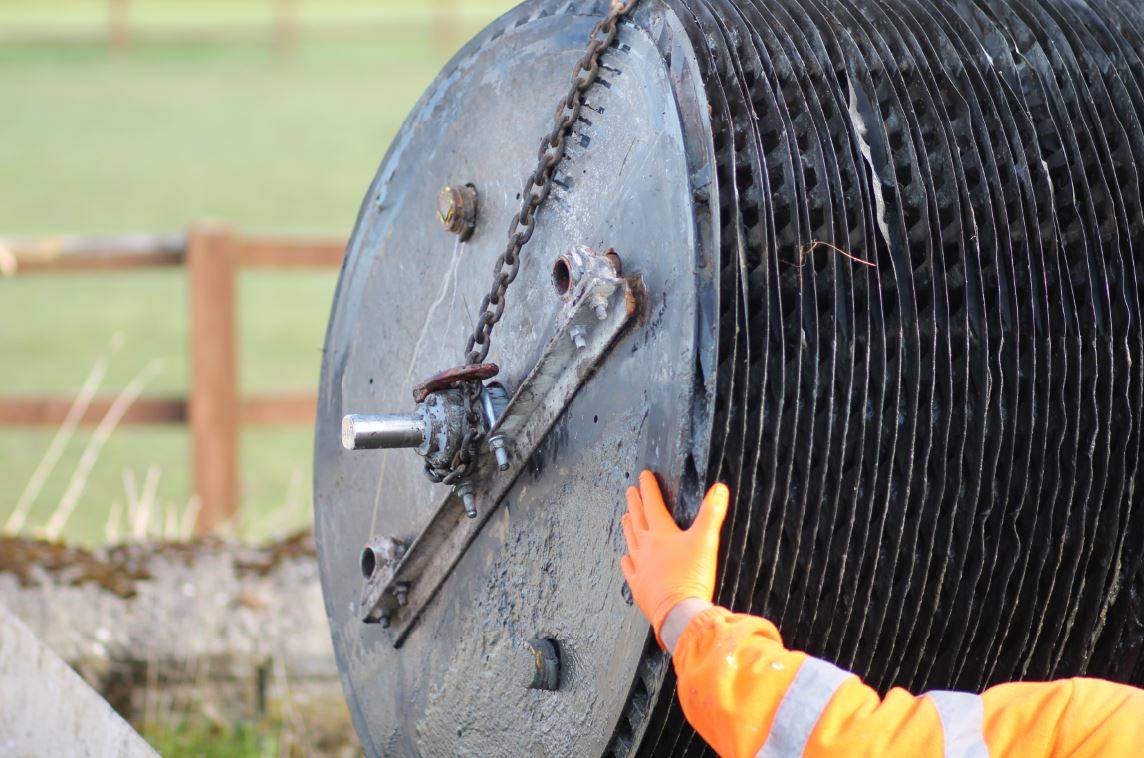
Step 4 - Lifting the complete rotor assembly back into the BioDisc tank
While the complete rotor assembly is out of the tank, this is the ideal opportunity for the engineers to change the worn out bearings on the system. This is done by unscrewing the bolts that are holding them down. You can see that the BD nylon bearings are visibly worn out and if left any longer these would split and cause further damage to the entire system.
With new bearings fitted, its time to get the complete rotor assembly lowered back into the system and onto the new bearings. It’s easy to see why this is a two person job. While one engineer drives the excavator the other guides the rotor assembly into the tank with only millimeters to spare.


Step 5 - Securing the BD BioDisc Shaft onto the bearings
Once the tank is safely resting on the new half bearings in place, this is secured in place with the top half of the bearings and retaining plates which are bolted down to stop the shaft juddering when in rotation. The bottom pulley is then securely fit back to the drive end of the shaft and the locking element is tightened.

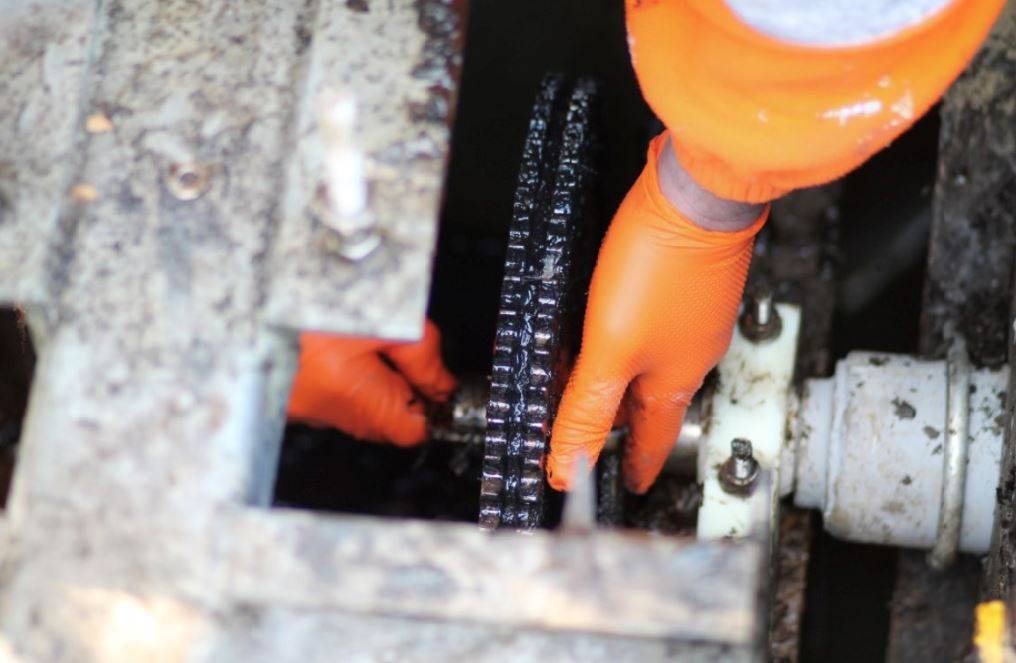
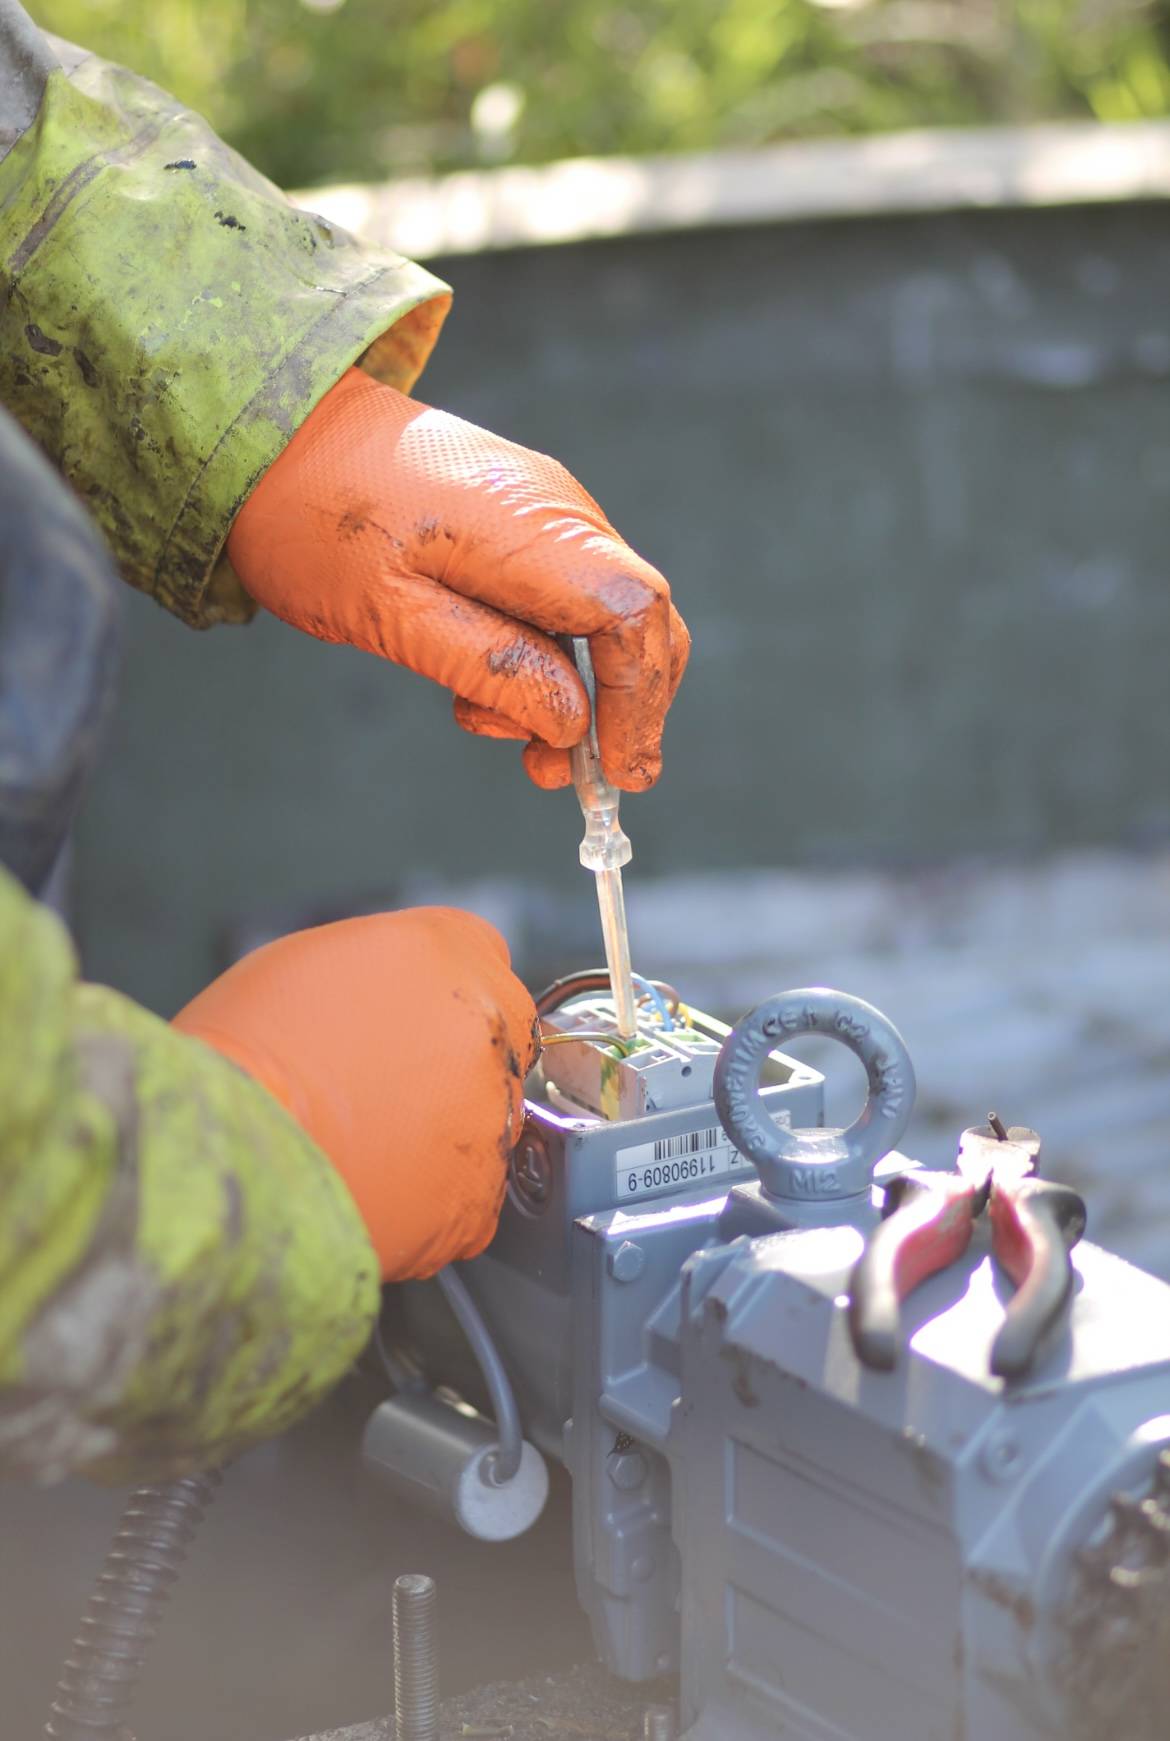
Step 5 - Fitting the BD BioDisc Sprockets and New Motor/Gearbox
This biodisc requires a new BD Bauer motor/gearbox. Once in place and level, the motor/gearbox is wired in to the external RCD cable and the top sprocket is removed from the old motor/gearbox to be attached to the new.
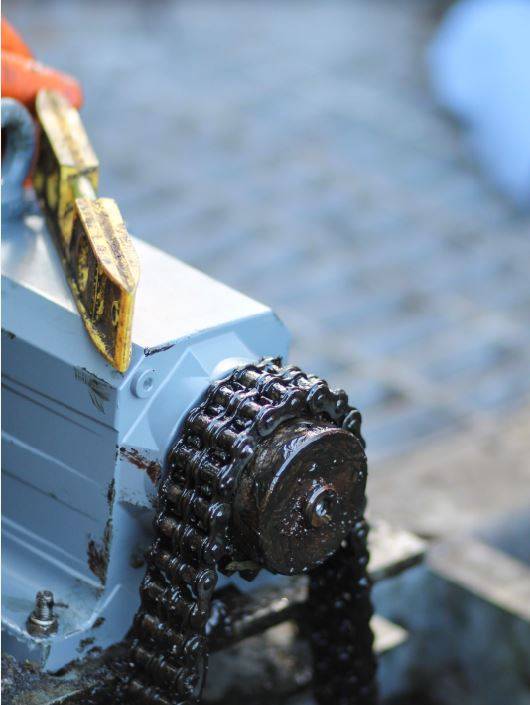
The bottom sprocket is re-fitted and tightened by the grub screws then the chain is fitted and secured in place. As the power is still off, the safety housing is placed back over the chain and top sprocket.
Our engineers are now happy that the BD BioDisc is working as it should again. New shaft, new bearings, new motor/gearbox.